
The Ultimate Handstand Guide
Mastering the Handstand: The Ultimate Guide to Getting Upside Down Faster
Handstands are one of those incredible skills that blur the line between strength training and play. It’s a perfect mix of muscle, balance, and technique. But here's the thing: most handstand tutorials fail to really hit the mark. It's not that the information is wrong — it's just that learning handstands is way more neurologically demanding than people realize. It’s not like learning to run or walk, where we just “get it” over time. We all have different body mechanics, and handstands can take a little longer to "click" for each of us.
The good news? There is a way to speed up the process and make your handstand practice more trackable, so you’re not left blindly hoping for balance. In this blog post, I’m breaking down how to train handstands effectively — so you can finally stop flailing around and start seeing real progress.

Step 1: How Strong Do You Need to Be?
When it comes to handstands, strength is important, but it's not the main factor. It’s more about skill. Ever notice how little kids can nail a handstand after just a couple of tries, while you — with all your muscle — struggle to stay up for more than a second? That's because handstands are as much about developing the right motor skills as they are about building strength.
That said, if you can do around 4 push-ups and hold a 10-second hollow body position, you’ve got enough basic strength to get started.

Handstand Checkpoint:
Can you do 4 Push Up’s?
If not, you’ll first need to focus on building up your foundational bodyweight strength, the Bodyweight Beginners Program is designed for absolute beginners to build up your strength and confidence in key calisthenics movements so that you can take on bigger challenges in the future.

Handstand Checkpoint:
Can you do a 10 Second Laying Hollow Body Hold?
This exercise is a key indicator to understand your core strength to enable you to hold yourself up against a wall an create that tension required to hold some of the beginner handstand skills such as Chest-To Wall Handstand & Back To Wall Handstand.
If you’ve answered yes to both of these questions…
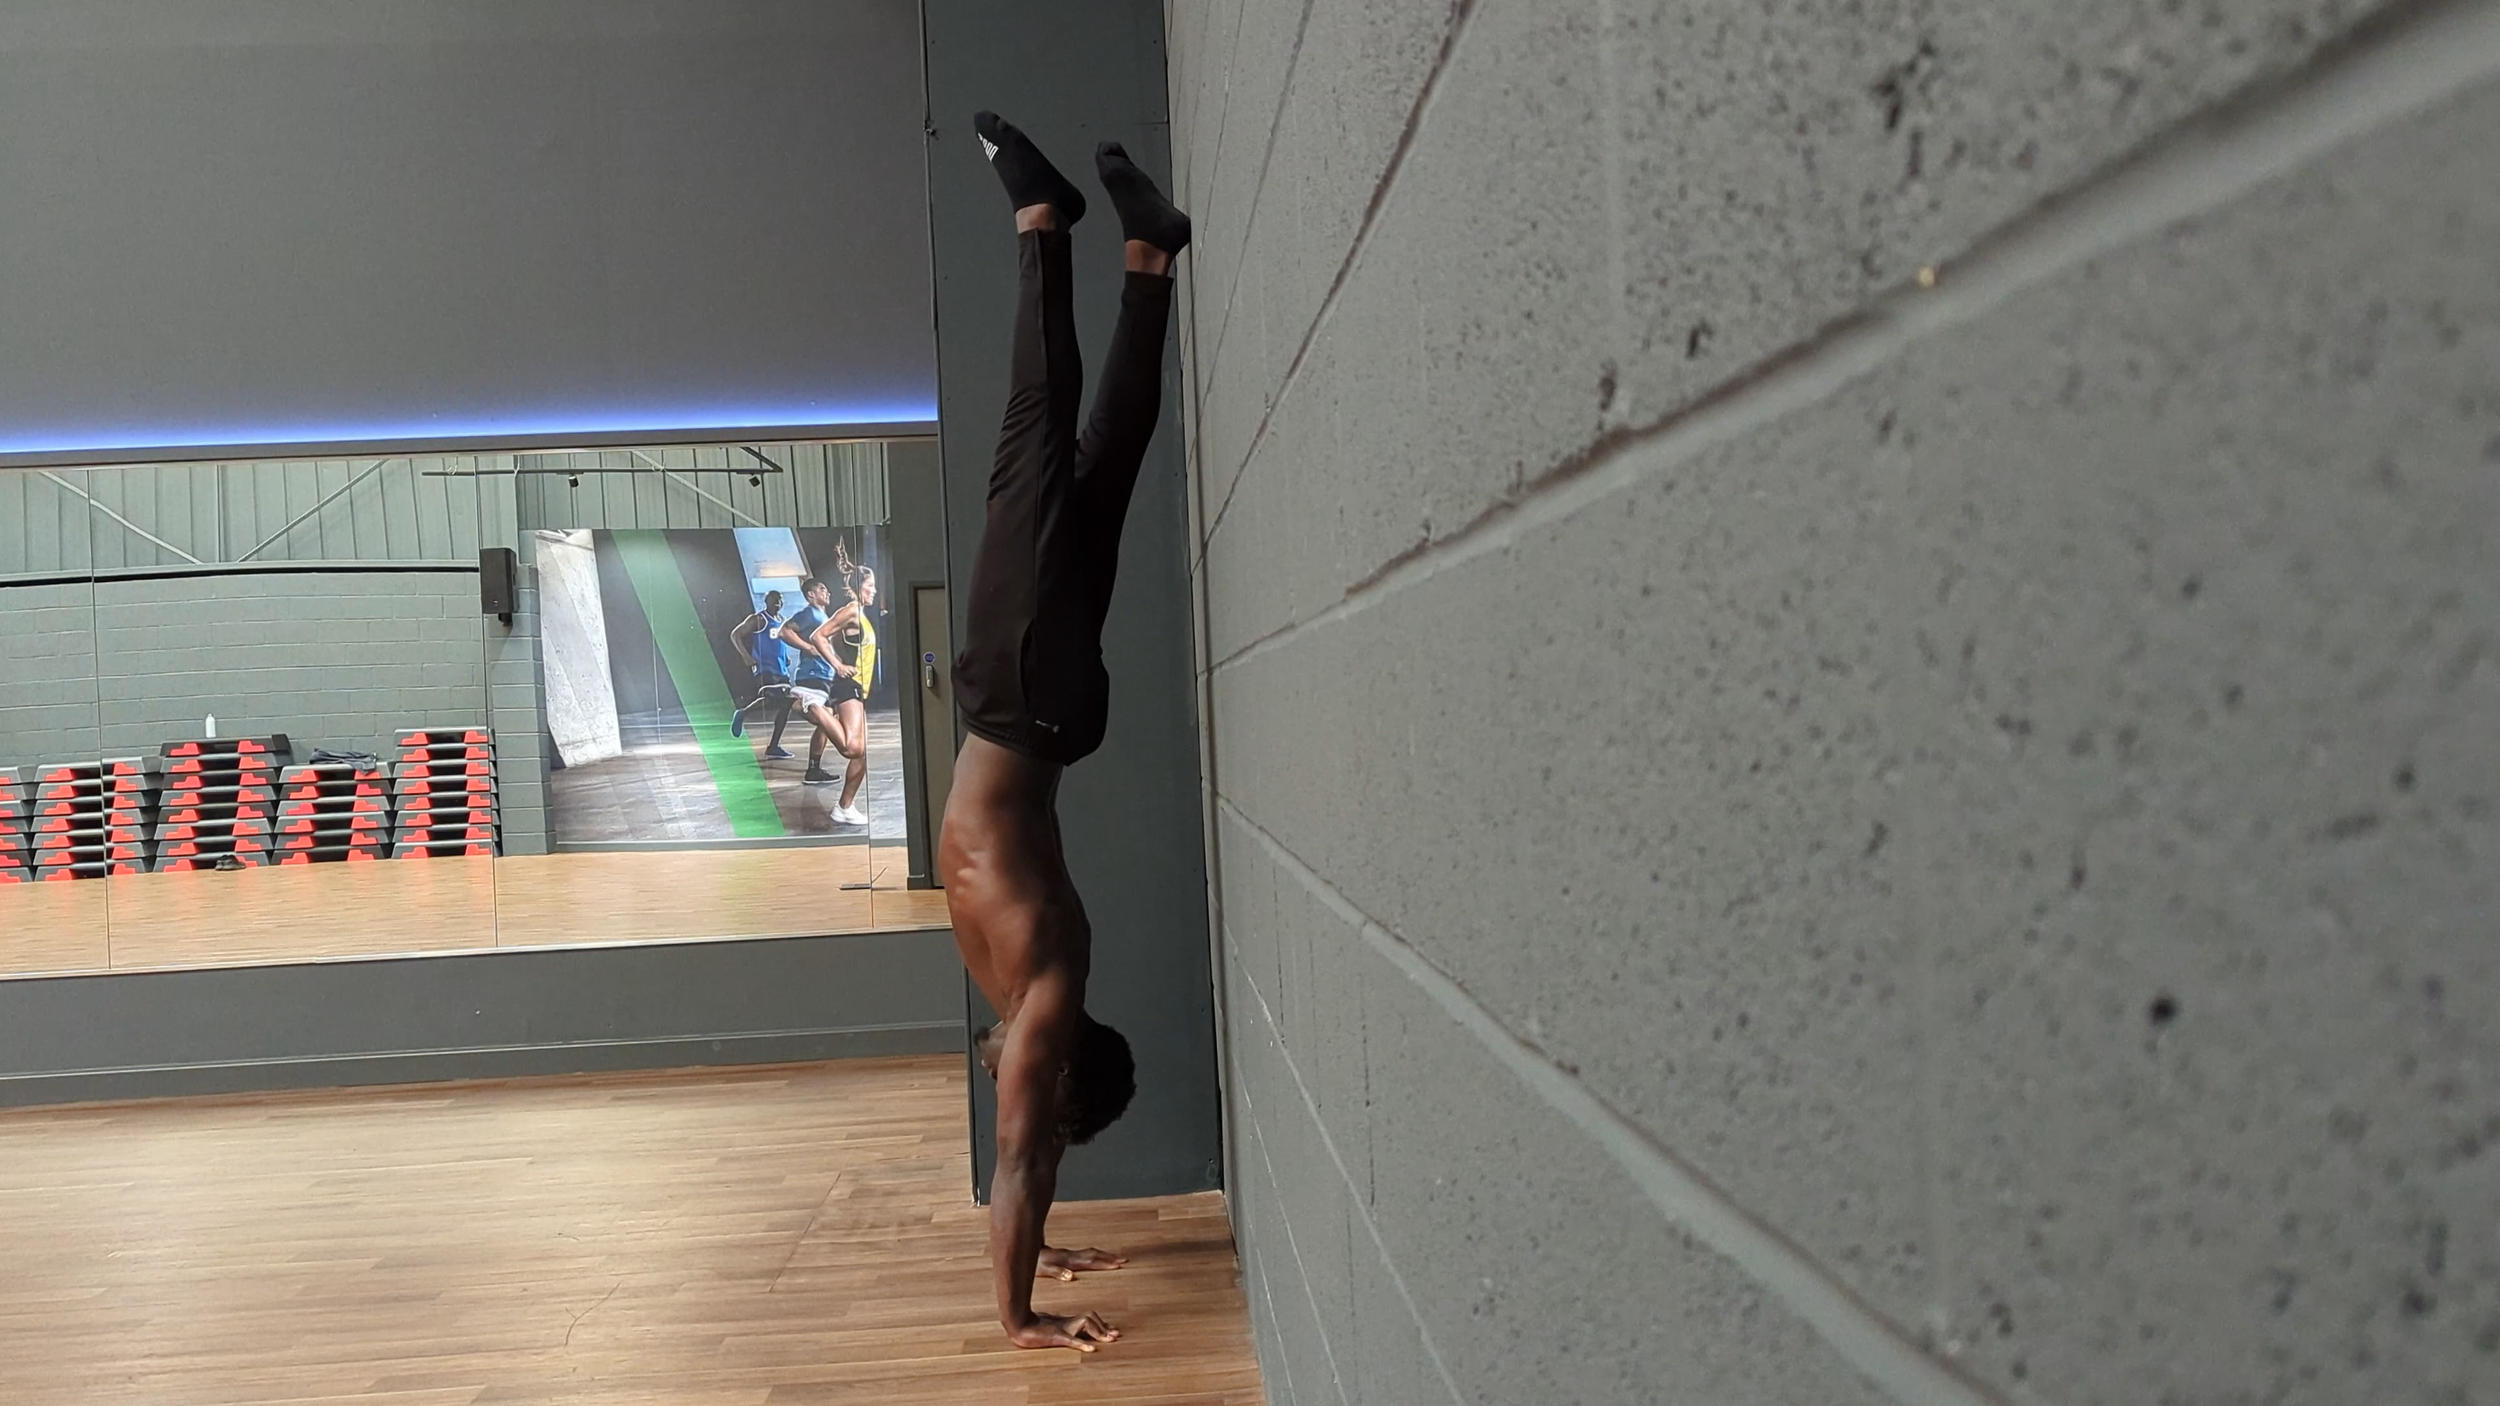
Here’s a pro tip: chest-to-wall handstands are fantastic for developing the specific isometric strength you need further. The wall helps support you while you focus on holding the position. Aim to hold it for about 15 seconds at the start of each session to build up your strength and get used to being upside down.
Step 2: Balancing a Handstand: It’s All in the Hands
You’ve probably heard this before:
“Balance will just click one day!”
And while that’s true to an extent, the process can feel frustrating without understanding how balance works in a handstand. The secret? It’s all about pressure in your fingers.

Think about how we balance when we stand on our feet: we adjust by pressing down with our toes or heels. For handstands, the concept is the same, but now we’re balancing on our hands. A good drill for this is the back-to-wall handstand. Here’s how it works: as you kick up, aim to touch the wall as lightly as possible. This helps you understand how much force you need to kick up without relying on the wall for support. Then, once you’re in the handstand, try gently taking the foot off the wall by pushing down through your fingertips. This teaches you to use your fingers to control your balance.
3. Overcoming Fear of Falling
Fear of being upside down can seriously hold you back. The key to overcoming this?
Practice falling.
I know, it sounds counterintuitive, but deliberately letting yourself fall (and learning to fall safely) can help break that fear. Start small with controlled cartwheels, and as you build confidence, try higher and more forceful kicks. The more you practice, the less fear you'll feel when it’s time to go for the real thing.
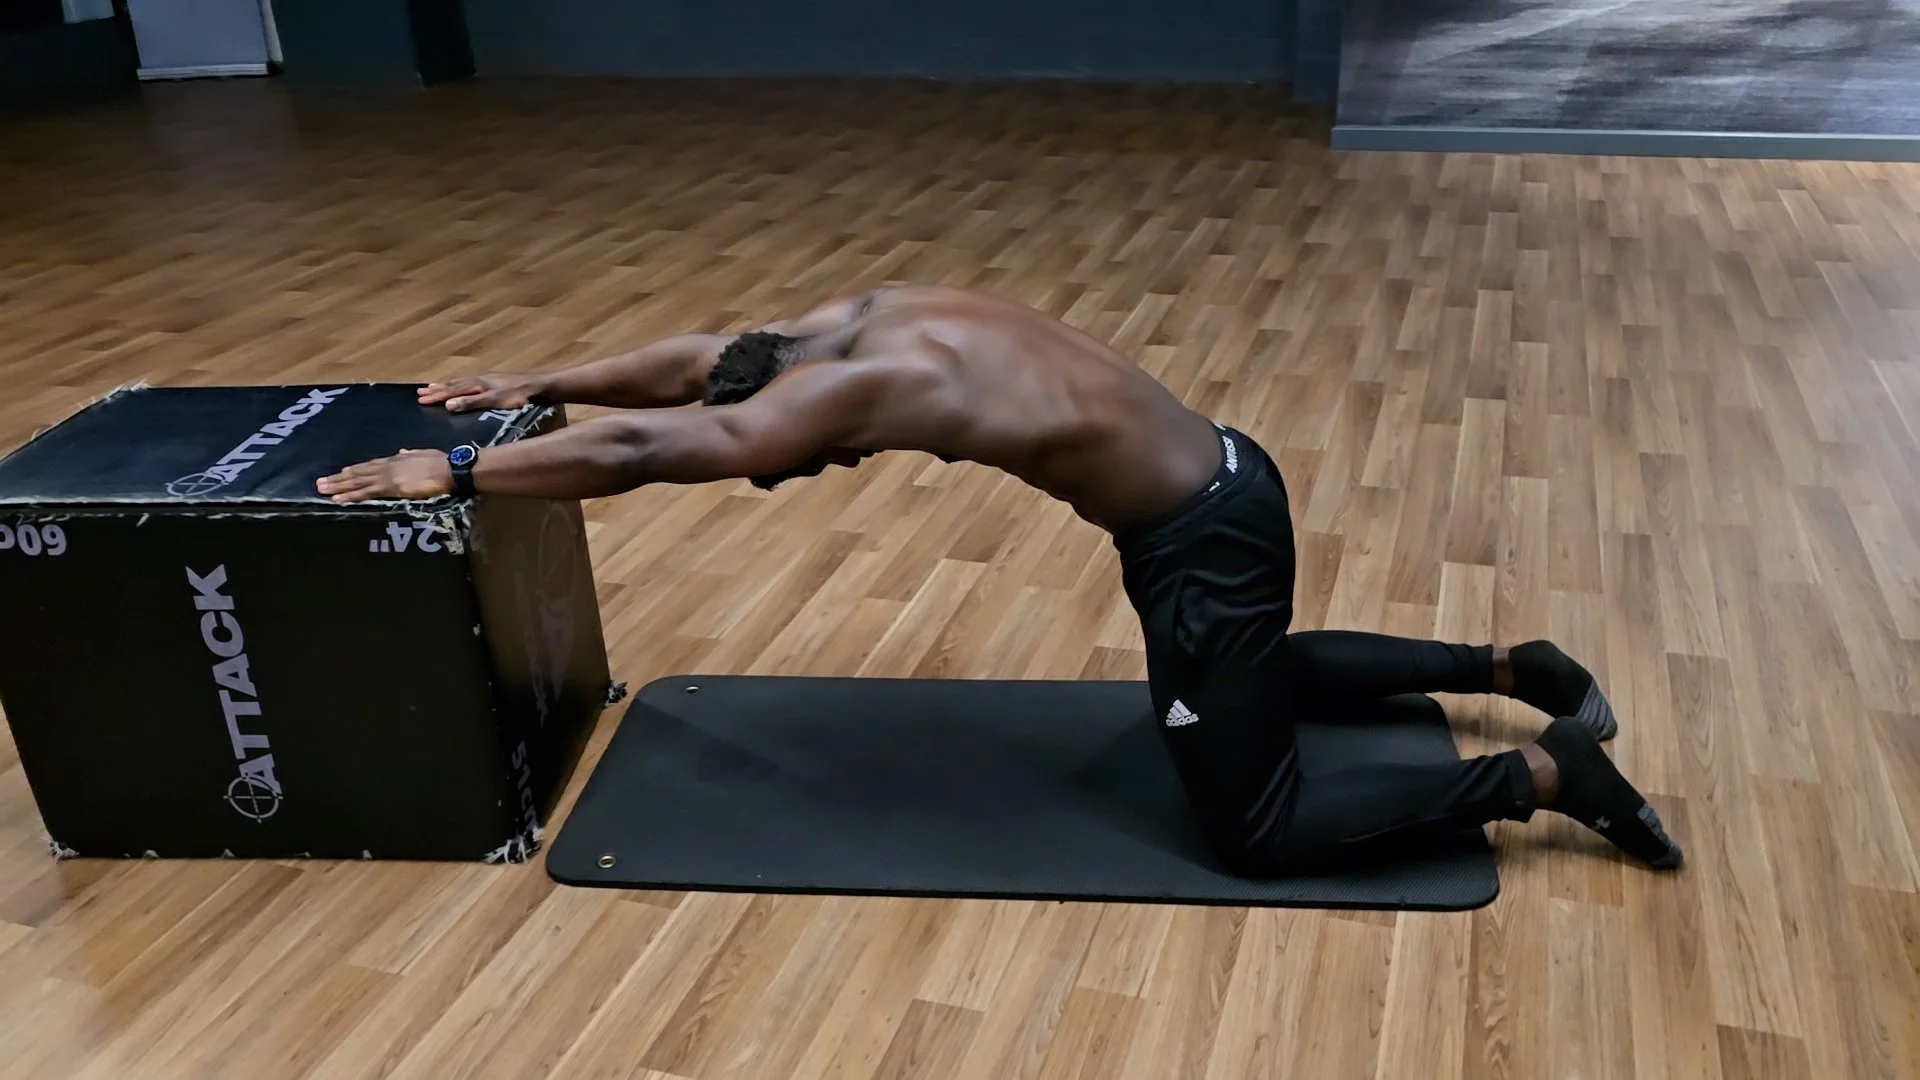
4. Mobility Matters More Than You Think
Here’s one aspect of handstands that most beginners overlook: mobility. If you can’t get your palms flat on the floor with your index fingers pointing forward, you’ll struggle to hold a proper handstand. Plus, you need good shoulder mobility to lift your arms fully overhead and keep your elbows locked out. The key to a great handstand is stacking your joints from your wrists all the way down to your ankles.
One of my favorite drills to improve shoulder mobility is the butcher’s block drill. I like to do a dynamic version as part of my warm-up, focusing on pressing my hands down and away, followed by a static hold for a longer duration during my cool down. It’s an excellent way to loosen up and get your shoulders ready for the handstand position.
5. The Best Way to Train Handstands
Let’s be honest: most people fail at handstands because they treat them as an afterthought. They rush through a few kick-up attempts at the end of a long day, hoping for progress. But handstands are like a needy partner — if you don’t prioritize them, they won’t give you much back.
To train handstands effectively, make sure your practice sessions look like this:
Warm up: Focus on preparing your wrists, elbows, and shoulders for the demands of handstand training.
Skill work: Work on your handstand practice while you’re fresh. This is when your brain is most ready to build those neural pathways.
Strength training: Incorporate specific exercises that build shoulder strength, scapula elevation, and straight-arm pushing power.
Global strength: Finish your session with general strength exercises to build the muscle endurance needed to support your handstand.
Consistency is key here. Try to practice handstands regularly — but don’t overdo it! Keep the intensity manageable (around a 5/10 effort level) so you don’t burn out.
Handstands are tough, no doubt, but they’re also incredibly rewarding. Stick to a structured training plan, stay consistent, and, with time, that elusive “click” will happen. Want a step-by-step guide to handstand success? Check out my Learn to Handstand program - follow the link.
